


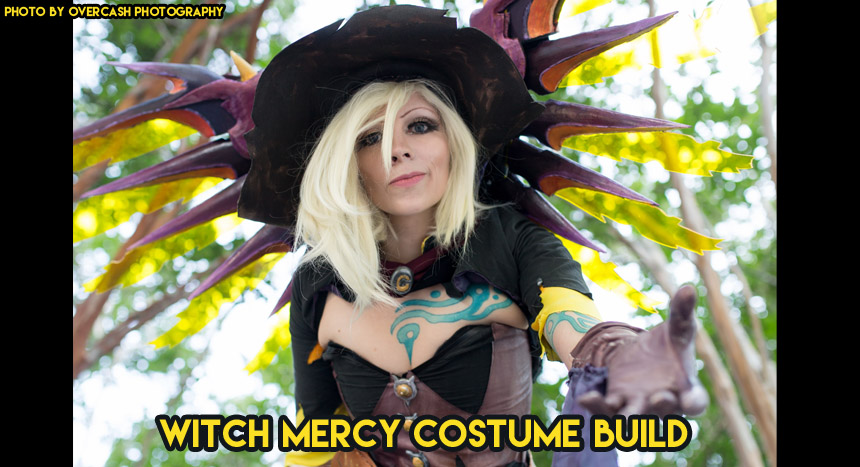
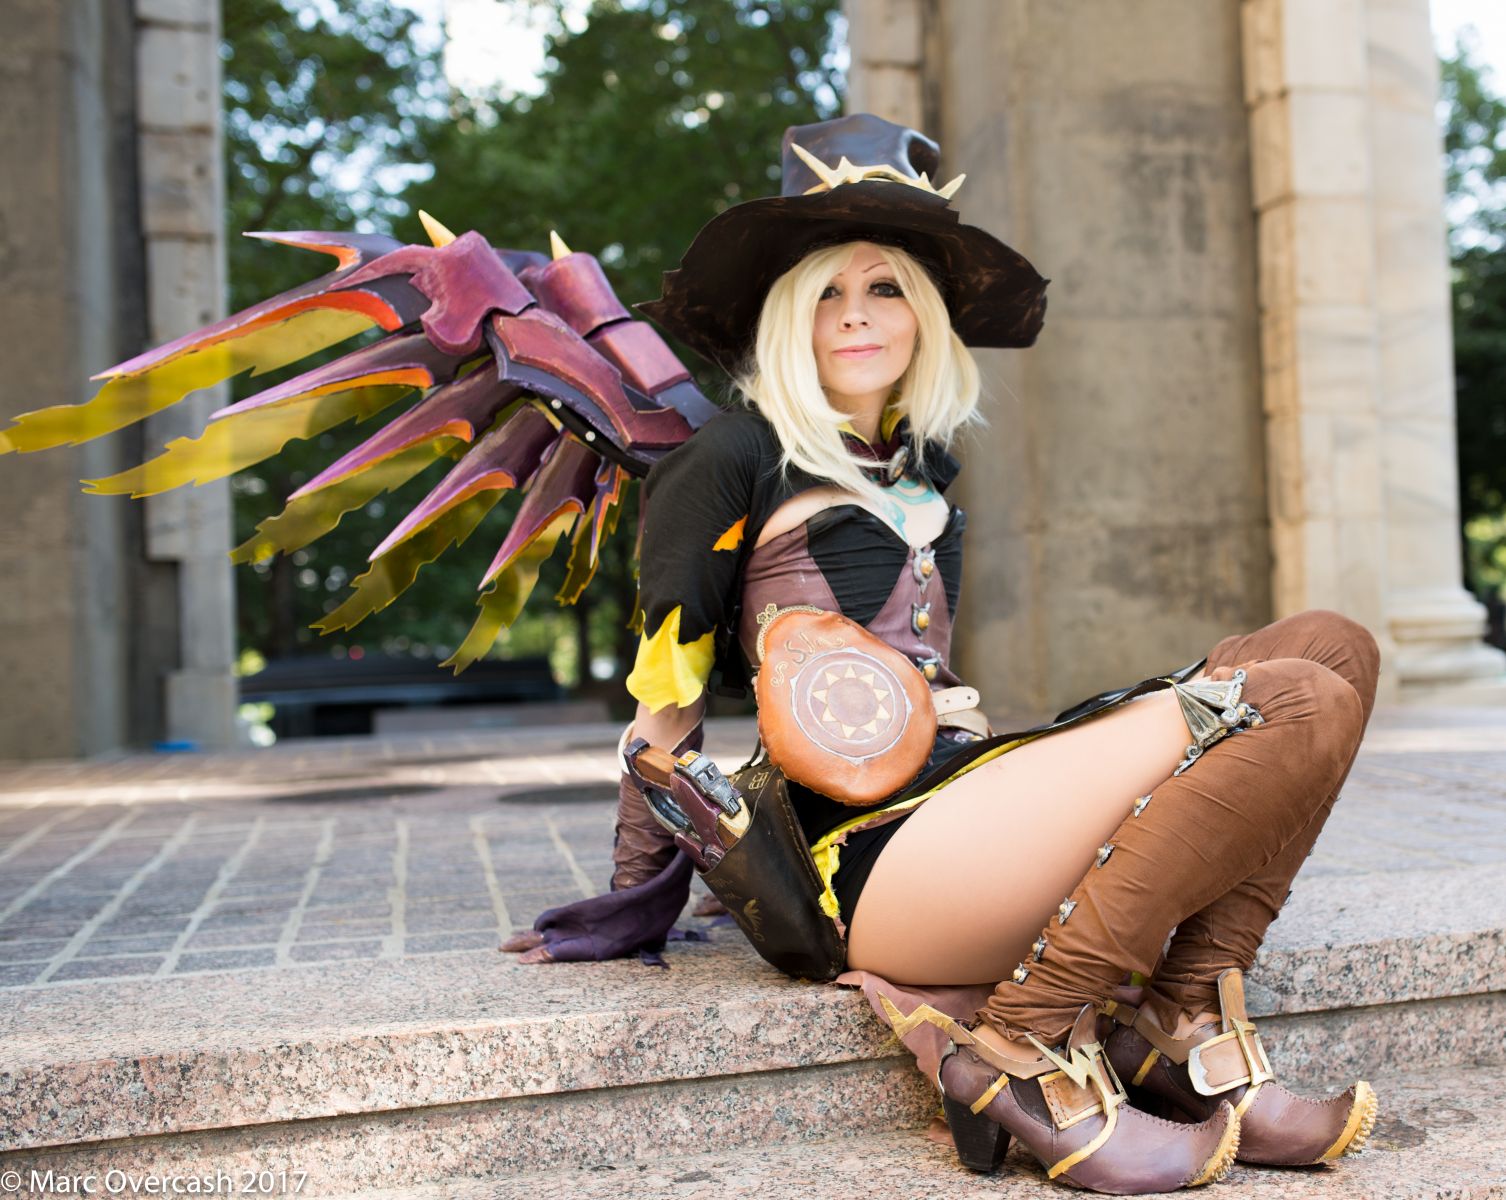
This is part 2 of my Witch Mercy Build Write-up. If you're looking for part 1, you can find it here
Part 2, The Hat, Shoes & Gloves
 Witch Hat
Materials (hat):
- 1 veg tanned cow hide (5-6 oz)
- leather dyes (black, brown, gold)
- leather paints
- artificial sinew & leather needles
- L200 foam
- acrylic paints
- acrylic gesso
- acrylic sealant
- butcher paper (for patterning) & scotch tape
- measuring tape/ruler
- a head form (i have a life cast of my head that I use, but you can also get a head form or make one out of a)
Planning Stage:
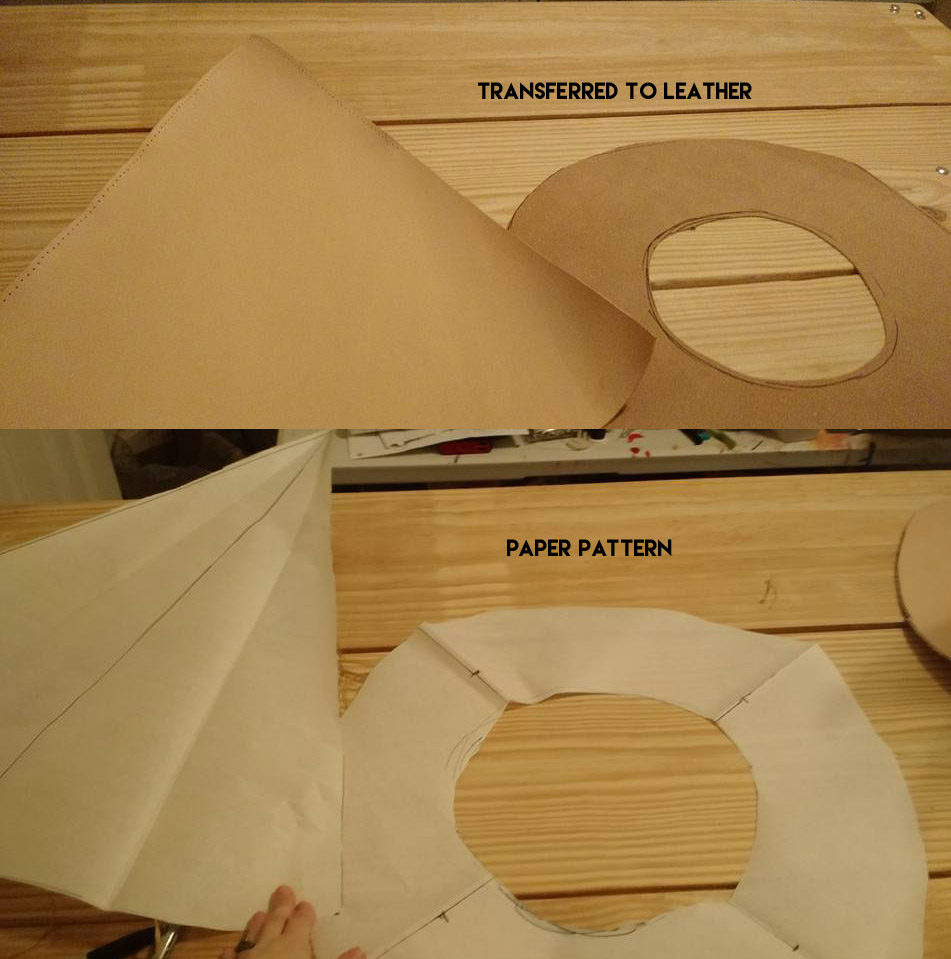
So for your hat pattern, you will have to do some math and take some measurements. You'll want the circumference and diameter of your head (make sure you take/calculate these measurements while wearing your wig as this will change your measurements). The hat itself is pretty simple in shape- the brim will be a donut shape and the cone will be a cone that you wet mold. I recommend following this tutorial for the basic measurements. I made several mockups out of paper before even looking at my leather.
I didn't want to have to sew parts of the cone together, so I did splurge and bought a long side of veg tanned leather so I could make the cone out of one piece (it's sewn at the top and down the side but that's it). When my final paper pattern was ready, I transferred it to my leather and cut that out.
.jpg) Making the hat:
Making the hat:
Next I sewed up the cone using a baseball stitch and then sewed the cone to the brim. You end up with something that looks like a dunce hat since it's going to be wet molded next.
I then wet the leather and then created the shapes I wanted for its final form and place it on my head form until it was dry (which you cannot see in these photos but I swear it's there). I was in a bit of a rush for part of this build so didn't take quite as comprehensive photos as I should have, but I use a variety of clips and weights to keep it in its shape as it was drying.
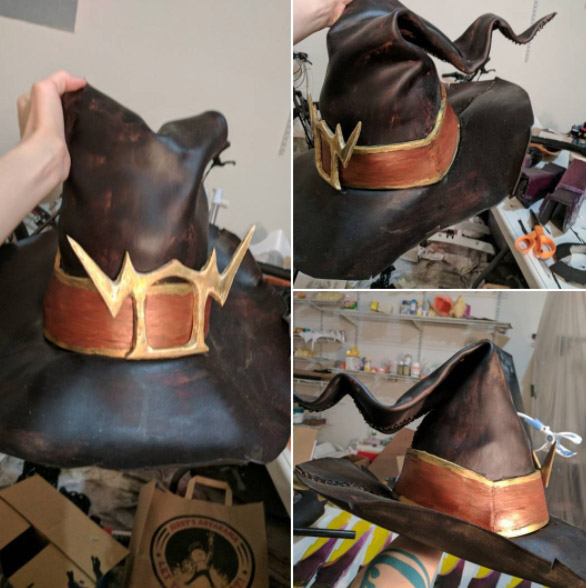
Josh did the patterning/building of the hat band for me, because I was starting to get really stressed about the patterning at this point. We used the foam b/c it can be cut to form to the hat the best and also gives that slightly cartoony look that hers has. Once it was built/attached to the hat, I primed it with gesso and painted it with acrylics.
Finally I attached the hat buckle after it was painted/sealed to the band with super glue. The buckle was also slightly heat formed to give it a little bit of a curve.
Note: despite my careful planning, even with the wig the hat ended up being a little bigger than I intended. So i put some pieces of foam on the inside of the hat to size it down a little bit.
Witch Shoes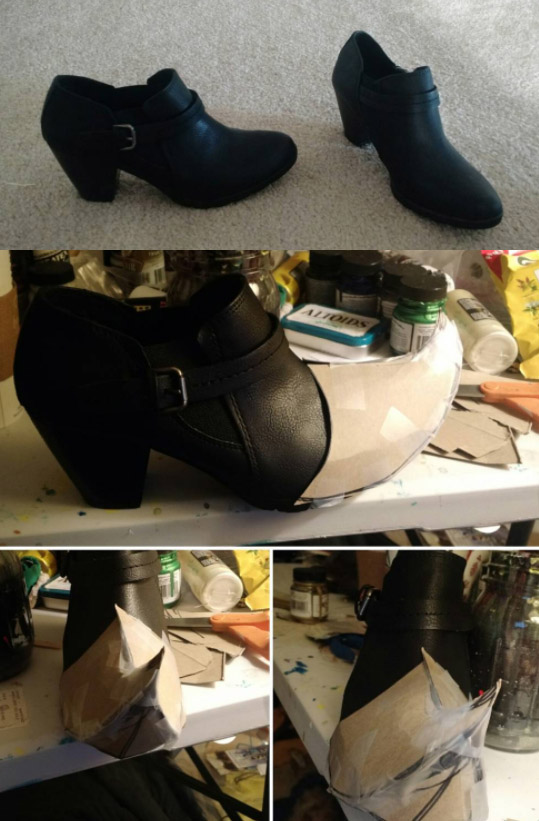
Materials (Shoes)
- Base shoes (ankle booties)
- acetone
- glue (urethane and superglue)
- veg tanned leather (4ozish)
- rubber massage ball (you can also use a dryer ball)
- leather dyes
- leather paint
- craft foam
- acrylic paint & gesso
- leather needles & artificial sinew
- acylic varnish in matte
- cardboard
- clear tape
Patterning & Planning: So first thing, I spent several weeks scouring Poshmark for the perfect pair of base shoes for witch mercy. I ended up with something that was pretty close  to what I wanted, and also very comfortable (which is important in a cosplay shoe). Importantly, they had a stretchy section to them, which meant if I built carefully, they could still be slipped on and off. I knew I wanted to make the bulk of the shoe modifications out of leather because it's relatively stretchy and durable, so if it gets kicked or whatever, it should take the abuse okay (as opposed to foam or thermoplastics which can tear or pop off, depending). I made the initial patterns out of cardboard since it's got a similar weight to the leather I would be using.
I started making the base shape of the shoe with the leather by first sewing the pieces together and then to the shoe (as well as glueing it). Once I had the base shape of the sole finished, I cut up the rubber massage ball and attached it to the sole with the urethane glue, then taped it in place with packing tape to allow it to cure in place. I considered covering the whole bottom of the shoe, but decided against it for comfort & durability (also since you don't see it 99% of the time).
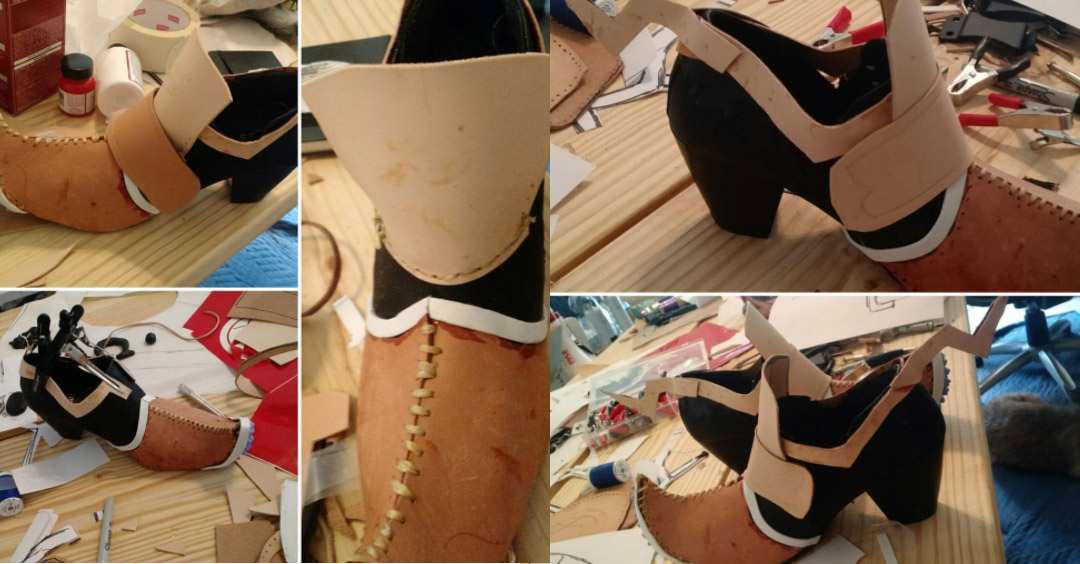 Then I kept layering in the various components- mostly glueing them down with the urethane glue to the base shoe. I mostly used leather for the majority of the shoe, but some of the parts were better done with craft foam (the craft foam also helps to give it more of a cartoony look).
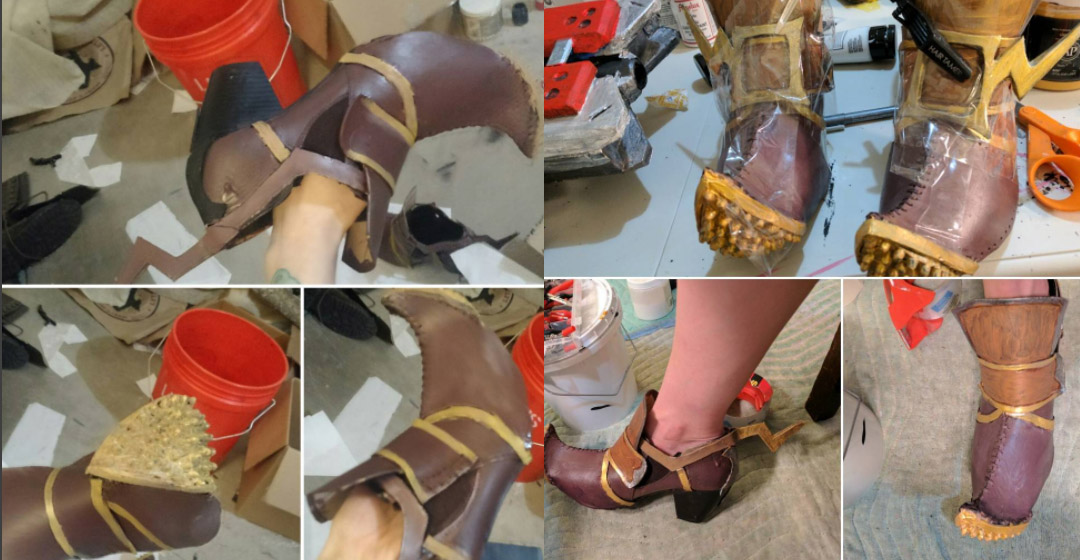
Once I'd gotten all the components on the shoe, I painted the shoe. I used a mixture of acrylic and leather paints to paint the shoes. The parts that were foam, I primed first and then painted, and then sealed everything.
The buckles I sculpted from apoxy and then cast out of resin. They were then heat formed to the shoes to give them a bigger surface area to attach to the shoes. Then they were primed/painted and sealed and attached to the shoes.
Thigh Highs/Tights/Booty shorts
Materials
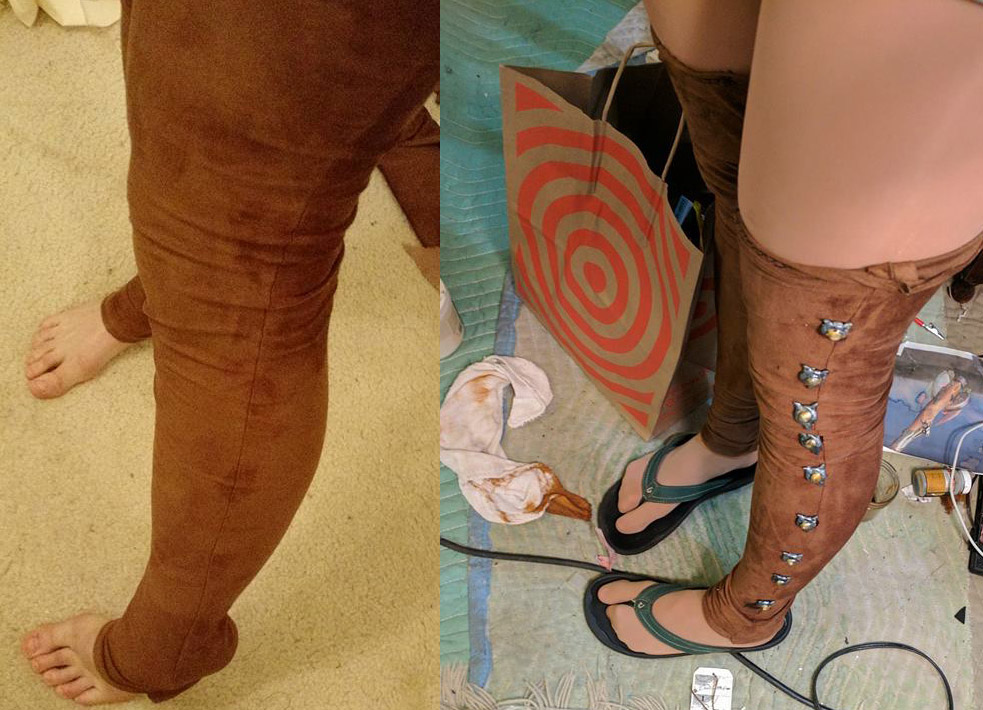
These were pretty simple- I used the masking tape method to make a simple sock pattern (covered my leg in masking tape, marked the seamlines with a marker, cut it up and made a muslin) and then transferred it to the thigh high fabric. I sewed them up and up them on over the dance tights (while I was wearing them) and then stitched them to the dance tights as a work-around for keeping them stuck to my leg.
note: this sort of worked, but it also didn't work completely. They caused some runs in my tights by pulling down on them too much once the jewels were attached. I think I might come up with a different way of attaching them for the next time I wear this costume (possibly just add garters and be damned for screen accuracy)
Once the jewels were finished, I attached them to my leg with gemtac.
The booty shorts I commissioned from Dilly Duds (she's the woman who made my harley shorts, I highly recommend her!)
Gloves:
Materials
- base gloves (vintage kid skin gloves in white, size 6)
- acetone
- leather paints
- silk twill & dye
- thread & leather needles
- Arm form
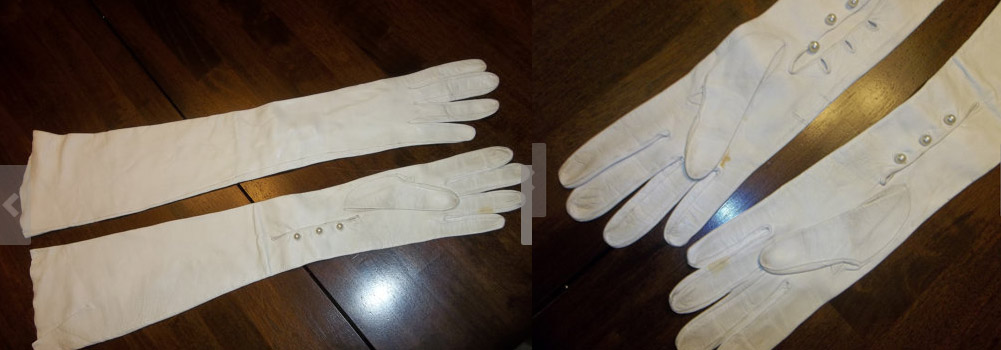
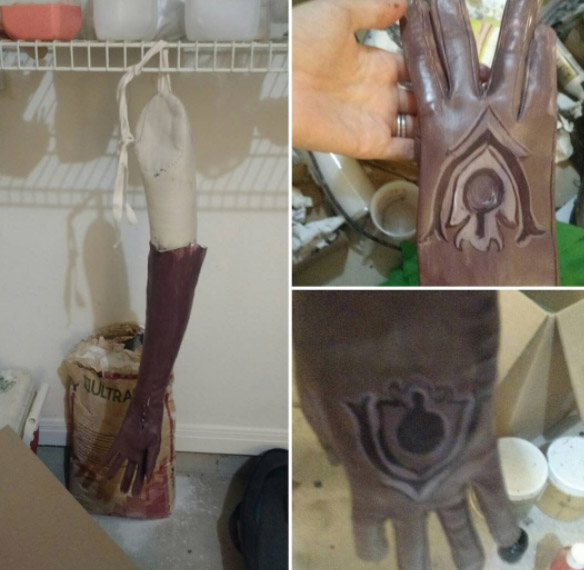
I started by finding some almost opera length kid skin gloves on etsy for pretty cheap and then stripped them of their sealant with acetone. I trimmed them down from their longer length, since hers don't quite go to her biceps. I then repainted them with leather paints (I used a mixed of brown and purple paints again- looking at the costume in different lights made the colors shift between brown and purple, so I compromised). Once the base color was finished, I freehand painted the hand design on the top of the gloves. I have these nice arm forms that I use for other things, so I put the gloves on them and hung them to dry since they were to long to prop up on the table. Once I was happy with the paint job, I sealed the paint with leather varnish in matte).
note: for my repairs on this costume, I'll probably paint the inside of the gloves at the top as well. Because i cut it, it has a tendency to fold down now which doesn't make for the best pictures (if I were to do it again, I probably wouldn't cut them).
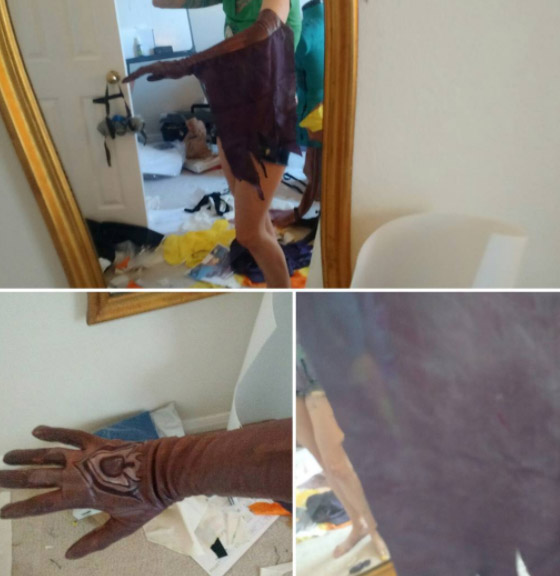
For the arm wings, I used silk twill that I dyed a dark purple-y blue (again- these had a tendency to look different in different lighting, so I just went with what I liked). I then opened up the seam of the glove and removed the buttons, then sewed the wings into each side of the gloves.
note: in the high res reference, her gloves are actually A LOT busier than this, which I considered doing, but it also seemed like an insane amount of work for how much anyone but me would ever notice, so i skipped it.
Brooches/Jewels/Buckles/etc
Materials (brooches, jewels, buckles, etc)
- apoxie sculpt
- sandpaper
- casting supplies
- resin
- acrylic gesso, paint & sealant
- gemtac & super glue
- pinbacks
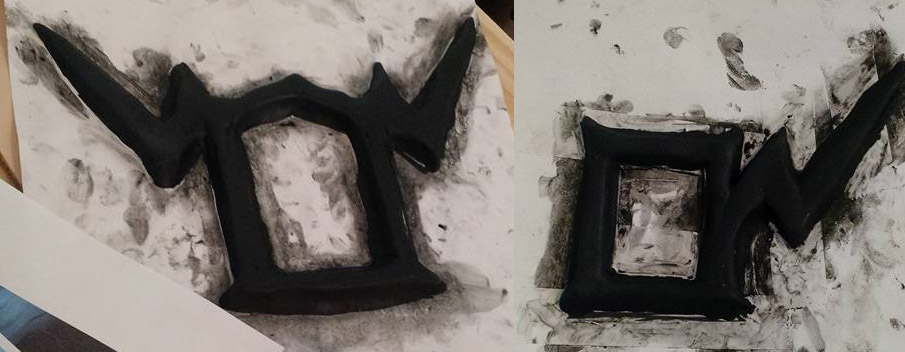
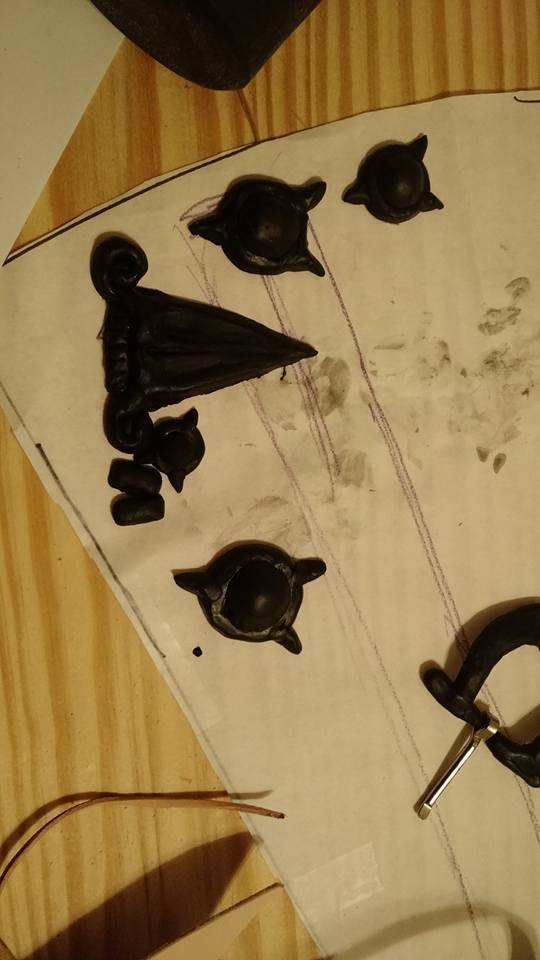
So for the various jewels and such, I first sketched out the various sizes I needed everything to be on paper and then sculpted one version of each size/shape I needed with apoxie sculpt. The ones that go down her chest actually decrease in size as they go down, whereas the ones on her legs are all the same size, etc. She's got a lot of little accesories.
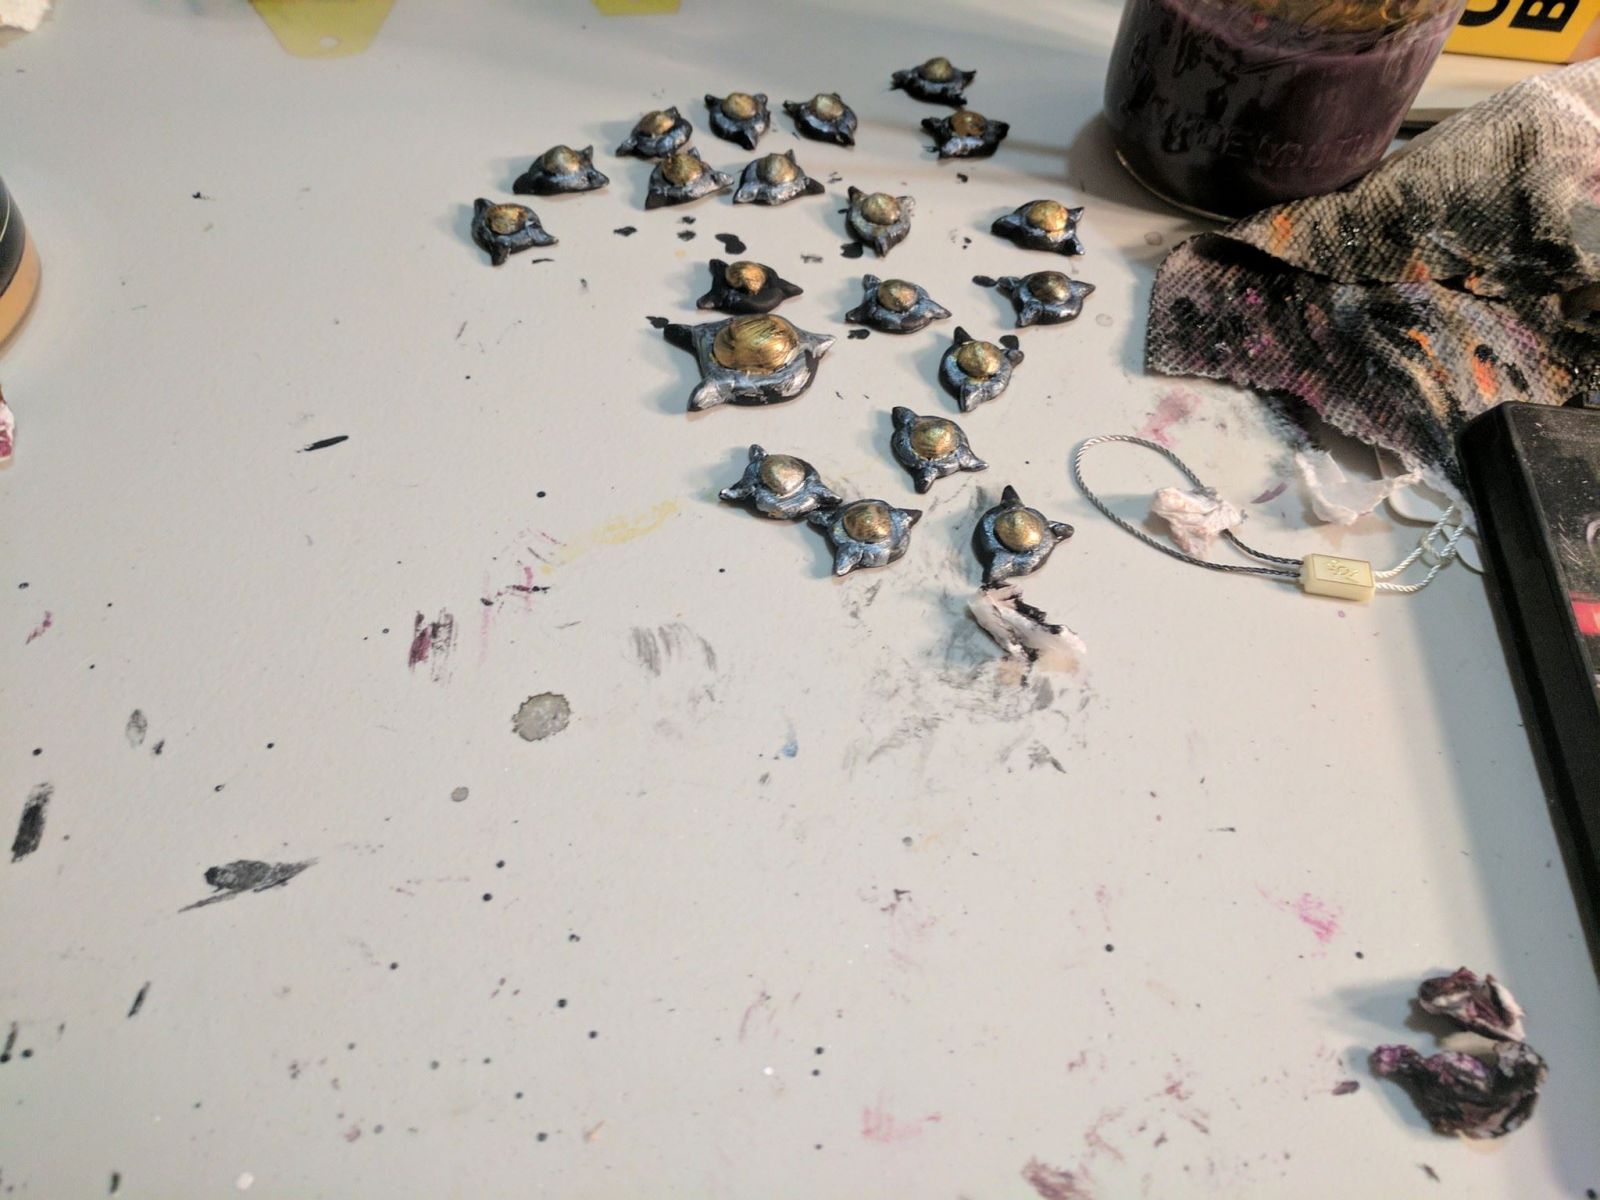
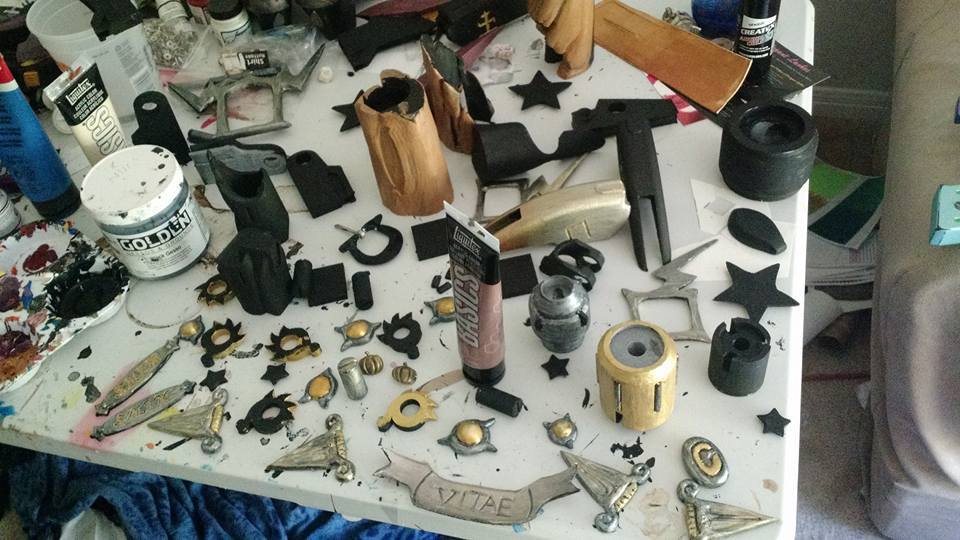
I also wanted something a bit hardier and lighter than apoxie, so we molded and cast them out of resin. The shoe buckles we simply flipped over and sanded both sides so we could get the mirrored image, but everything else was just cast in as many copies as necessary.
Once cast, all the buckles were slightly heat formed to give them more surface area to attach to their respective locations. I then primed and painted everything. Most of the pieces were glued into place, but some of them use pinbacks instead so they're removable/mobile.
note: a lot of the work on these was during a time crunch, so I don't have the best pictures on them. We still have the molds if anyone's interested in resin kits though.
Part three!